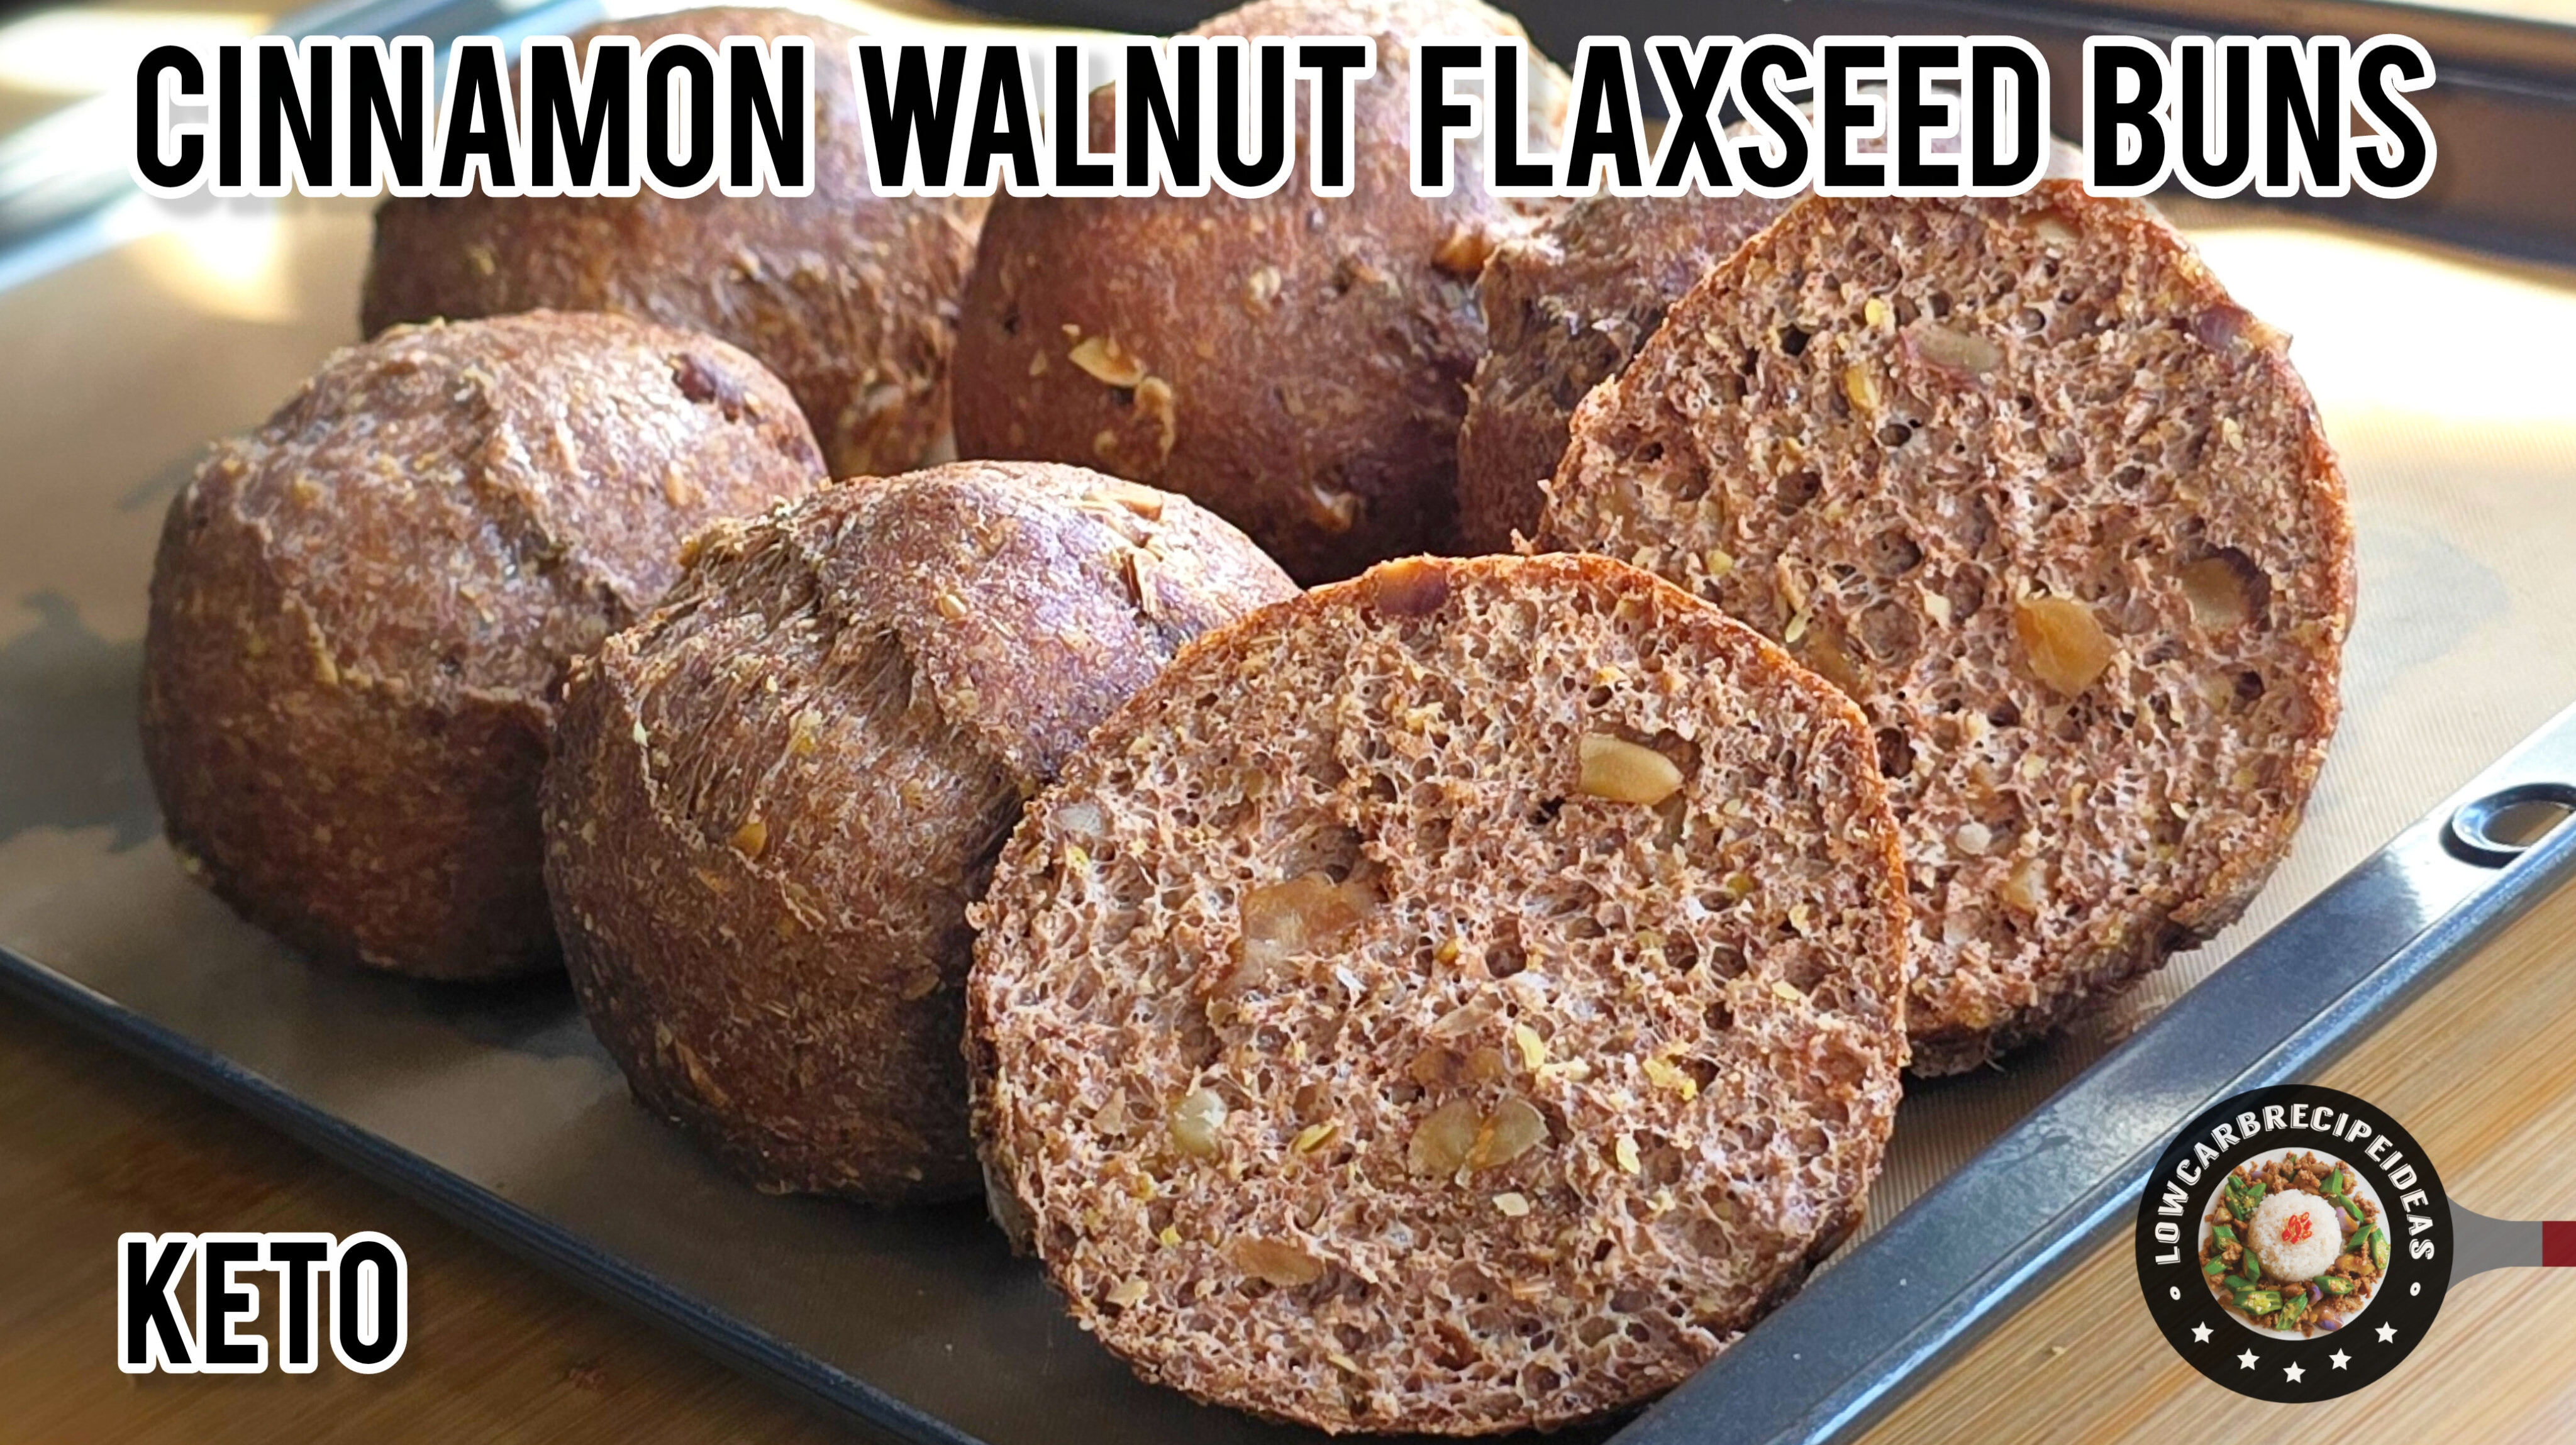
Vegan Walnut Bread

This post may contain Amazon or other affiliate links. As an Amazon Associate, I earn a commission from qualifying purchases.

DIRECTIONS TO MAKE THE WALNUT MEAL

1. Use a seed, nut or multi grinder as it is the most effective. Food processor can be used but it may not be as effective, and you need to use the fine shredding disk instead of the steel blade. Someone commented that she used a Vita Blender and it worked so you may try it.

2. Ensure that the walnuts are at room temperature and dry. It is not necessary to roast the raw walnuts before grinding.

3. Ensure that the bowl and blade of grinder are dry and cool (not hot from the dishwasher).

4. Place half the walnuts into the grinder with half of the coconut flour. Pulse (do not blend) 3 times for a few seconds each. Stir to mix. There may still be chunks of walnuts but it's fine.

5. Pulse another 2 times for a few seconds each then pour into a bowl and set aside.

6. Repeat the process with the balance of walnuts and coconut flour.

7. The texture of the grounded walnuts are coarse, like meal, not flour.

8. It's fine if there are still some chunks as they add to the crunch.

DIRECTIONS TO MAKE THE BREAD

1. For best results, weigh the ingredients with a digital scale

2. Preheat the oven at 350F or 180C.

3. In a bowl, mix all the dry ingredients until well combined.

4. Add all the wet ingredients and mix until a dough is formed.

5. The dough may appear to be quite dry, but it is normal. Knead the dough for 30 seconds then shape into a loaf with round top. As eggless bread does not rise as much as the one with egg whites, it's important to shape the dough round and tall so that the bread looks bigger and nicer, not flat

6. Place the dough into a greased 8x4" pan lined with parchment paper.

7. Sprinkle with chopped walnuts and mixed seeds and press down gently so they will stick to the dough.

8. Bake at the lowest rack for 60 mins or until a wooden skewer comes out clean. Remove the pan from oven and as an option, you can leave the bread to rest in the pan for about 15 to 30 mins or you can leave the bread to dry in the oven with heat turned off for about 30 to 40 mins. The residual heat will ensure the bread is properly cooked and help to dry the crumbs.

9. Cool completely on a wire rack before slicing.

[Total servings = 18]

NUTRITION INFO PER SERVING

Total carb = 5.3 g

Dietary fiber = 3.1 g

Net carb = 2.2 g

Calories = 129

Total fat = 11.7 g

Protein = 3.2 g

This nutrition information is just a guide. Feel free to use your own macro calculation app for accuracy.

Recipe by lowcarbrecipeideas

Find more great recipes at lowcarbrecipeideasofficial.com

Video Tutorial

About the recipe

Clock Icon - Diet X Webflow Template
Preparation: 
20 minutes
Cook Icon - Diet X Webflow Template
Cook time: 
60 minutes
User Icon - Diet X Webflow Template
Portions: 
18 servings
Graph Icon - Diet X Webflow Template
Difficulty: 
Moderate
Print Recipe

Vegan Walnut Bread

This post may contain Amazon or other affiliate links. As an Amazon Associate, I earn a commission from qualifying purchases.

Ingredients

DRY INGREDIENTS

Walnut meal = 360 g / 3 cups

Coconut flour = 120 g /1 cup

Whole Psyllium husk = 36 g / 4 tbsp (Note: The psyllium husks must be ground until half its original volume then weigh it.  However, if you are using pre ground psyllium powder, only 2 to 3 tsp is required. Please see this video about psyllium husk and powder for better understanding and success - https://youtu.be/_bnCwudgFt4)

Baking powder = 16 g / 4 tsp

Salt = 1 tsp

WET INGREDIENTS

Apple cider vinegar = 60 ml / 4 tbsp

Hot or boiling water = 360 ml / 1 1/2 cups

Directions

DIRECTIONS TO MAKE THE WALNUT MEAL

1. Use a seed, nut or multi grinder as it is the most effective. Food processor can be used but it may not be as effective, and you need to use the fine shredding disk instead of the steel blade. Someone commented that she used a Vita Blender and it worked so you may try it.

2. Ensure that the walnuts are at room temperature and dry. It is not necessary to roast the raw walnuts before grinding.

3. Ensure that the bowl and blade of grinder are dry and cool (not hot from the dishwasher).

4. Place half the walnuts into the grinder with half of the coconut flour. Pulse (do not blend) 3 times for a few seconds each. Stir to mix. There may still be chunks of walnuts but it's fine.

5. Pulse another 2 times for a few seconds each then pour into a bowl and set aside.

6. Repeat the process with the balance of walnuts and coconut flour.

7. The texture of the grounded walnuts are coarse, like meal, not flour.

8. It's fine if there are still some chunks as they add to the crunch.

DIRECTIONS TO MAKE THE BREAD

1. For best results, weigh the ingredients with a digital scale

2. Preheat the oven at 350F or 180C.

3. In a bowl, mix all the dry ingredients until well combined.

4. Add all the wet ingredients and mix until a dough is formed.

5. The dough may appear to be quite dry, but it is normal. Knead the dough for 30 seconds then shape into a loaf with round top. As eggless bread does not rise as much as the one with egg whites, it's important to shape the dough round and tall so that the bread looks bigger and nicer, not flat

6. Place the dough into a greased 8x4" pan lined with parchment paper.

7. Sprinkle with chopped walnuts and mixed seeds and press down gently so they will stick to the dough.

8. Bake at the lowest rack for 60 mins or until a wooden skewer comes out clean. Remove the pan from oven and as an option, you can leave the bread to rest in the pan for about 15 to 30 mins or you can leave the bread to dry in the oven with heat turned off for about 30 to 40 mins. The residual heat will ensure the bread is properly cooked and help to dry the crumbs.

9. Cool completely on a wire rack before slicing.

Nutritions

[Total servings = 18]

NUTRITION INFO PER SERVING

Total carb = 5.3 g

Dietary fiber = 3.1 g

Net carb = 2.2 g

Calories = 129

Total fat = 11.7 g

Protein = 3.2 g

This nutrition information is just a guide. Feel free to use your own macro calculation app for accuracy.

Recipe by lowcarbrecipeideas

Find more great recipes at lowcarbrecipeideasofficial.com