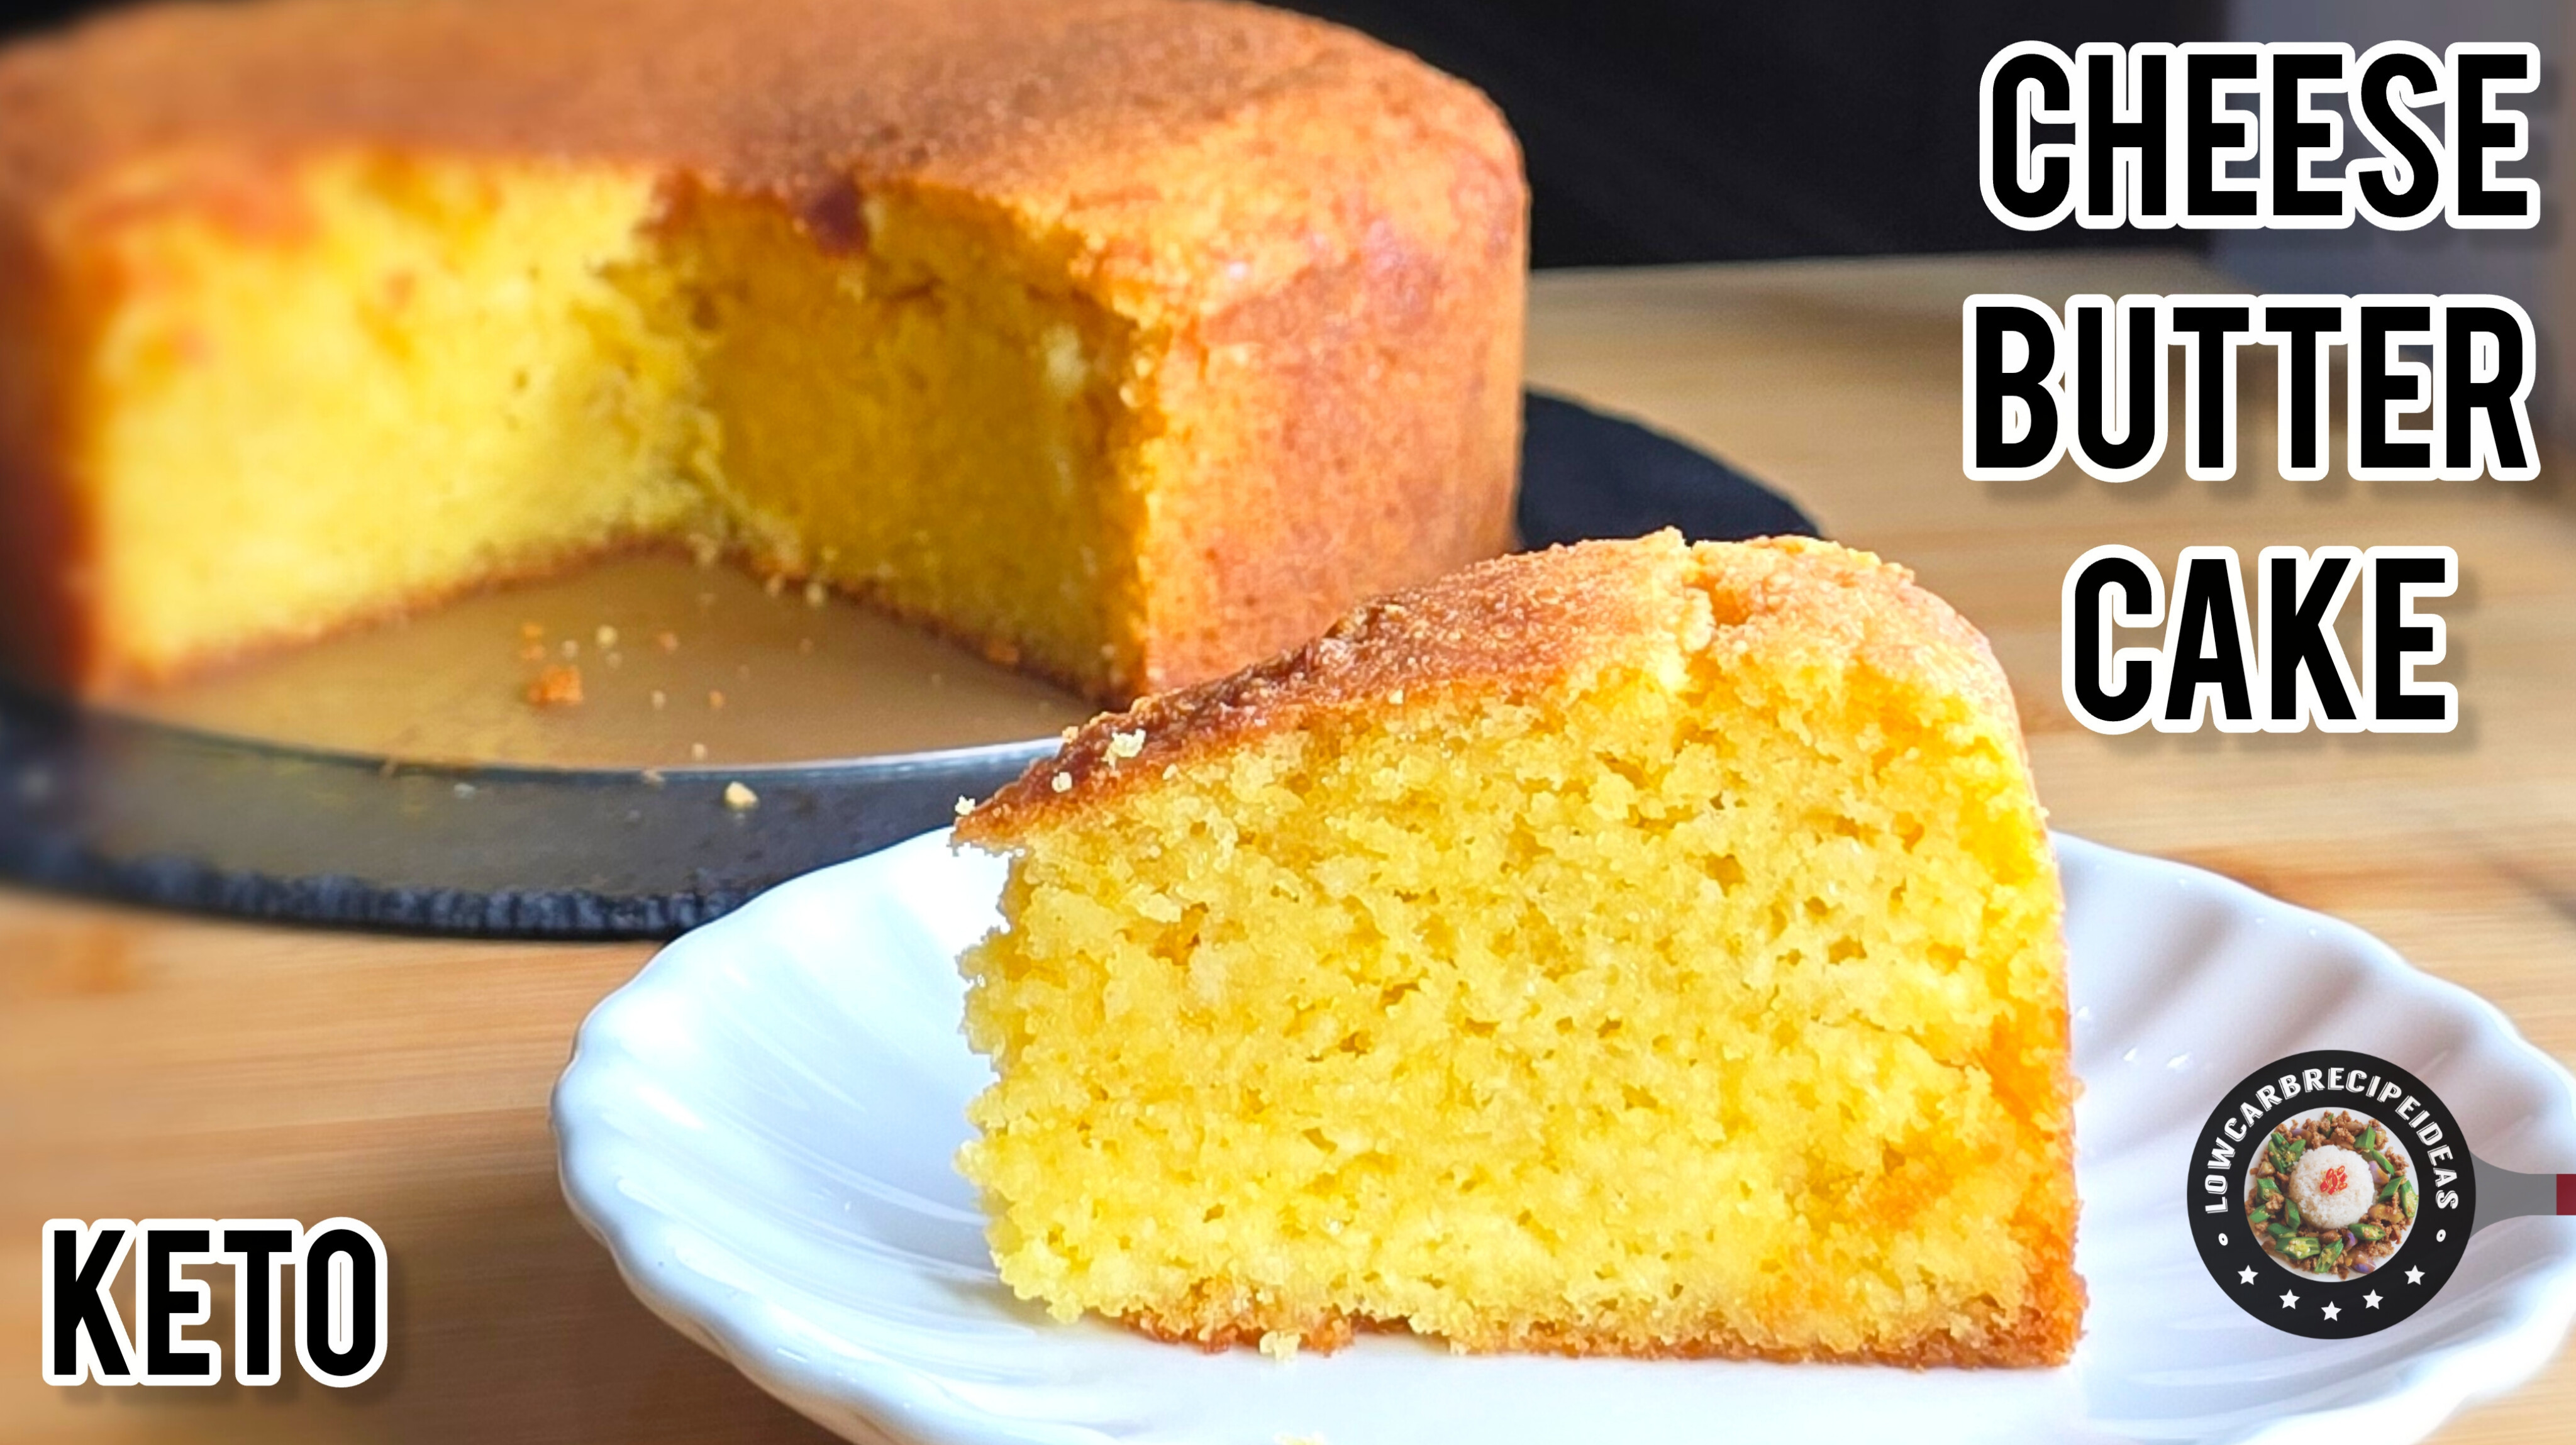
Lemon Sponge Cake
There are many types of sponge cake and I have been experimenting to find the easiest method with the best results. I found this method of making the meringue with the egg whites and adding to the egg yolk batter yielded the best result in terms of rise and texture. Always trying to find short cuts, I tried baking them directly but sadly, they tend to sink in the middle. Finally, I had to try the water bath method and lo and behold, they turned out nicely all the time. Even if there is any sinkage, it will be very mild.
1. For best results, weigh the ingredients with a digital scale
2. Preheat the oven at 302 F or 150 C.
3. In a bowl, add the egg yolks, coconut oil, fresh lemon juice, salt and whisk to combine. Then add the flour and whisk until well combined. The batter may appear dry but it's fine as the meringue will be added later. Set aside.
4. In another bowl, add the egg whites, cream of tartar and beat with a handheld mixer. Once foamy, add the sweetener in 3 batches. Beat until stiff peaks.
5. Add the meringue into the batter in 3 batches. Fold gently to combine. The meringue is very important to ensure proper rise. Do not mix or stir as it will break the meringue. Folding is like scooping up the batter.
6. In the video, I used a 6 x 3-inch square pan, lined with parchment paper. It's important to ensure the parchment paper is higher than the pan, particularly if you are not using tall pan.
7. Spread evenly and tap the pan a few times to remove air bubbles.
8. For the water bath baking, use a baking dish or pan that is big enough to fit the pans and water. As my pan has a removable bottom, I used another pan that is slightly bigger than my pan with batter so that I do not need to wrap my pan with foil to prevent water from getting in. This method is so convenient and foolproof.
9. Pour hot water into the big pan up to 1 inch high.
10. Bake for 1 hour at the lowest rack.
11. Once the top feels firm and a wooden skewer comes out clean, then the cake is done. Remove from oven and immediately remove the cake from the pan.
12. Gently peel off the parchment paper with the help of a spatula as the parchment paper tends to stick to the cake.
13. Dust with powdered sweetener and cut into 9 servings.
14. In the video, I showed you the coconut flour version and I have also showed you how the almond flour version will look. Even though both versions are just as delicious, but the coconut flour version is so light, soft and fluffy. The almond flour version is slightly heavier and moister due to the texture of the flour.
15. The cake can be kept at room temperature for a few days provided you have a cool and dry climate. Otherwise, it is best to refrigerate earlier for up to a week and you can eat it straight from the fridge as it actually tastes very good chilled.
[Total Servings = 9]
NUTRITION INFO PER SERVING (COCONUT FLOUR VERSION)
Total Carb = 0.7 g
Dietary Fiber = 0.2 g
Net Carb = 0.5 g
Calories = 92
Total Fat = 8.7 g
Protein = 3.2 g
[Total Servings = 9]
NUTRITION INFO PER SERVING (ALMOND FLOUR VERSION)
Total Carb = 2.2 g
Dietary Fiber = 1.0 g
Net Carb = 1.2 g
Calories = 142
Total Fat = 12.8 g
Protein = 5.0 g
This nutrition information is just a guide. Feel free to use your own macro calculation app for accuracy.
Recipe by lowcarbrecipeideas
Find more great recipes at lowcarbrecipeideasofficial.com


