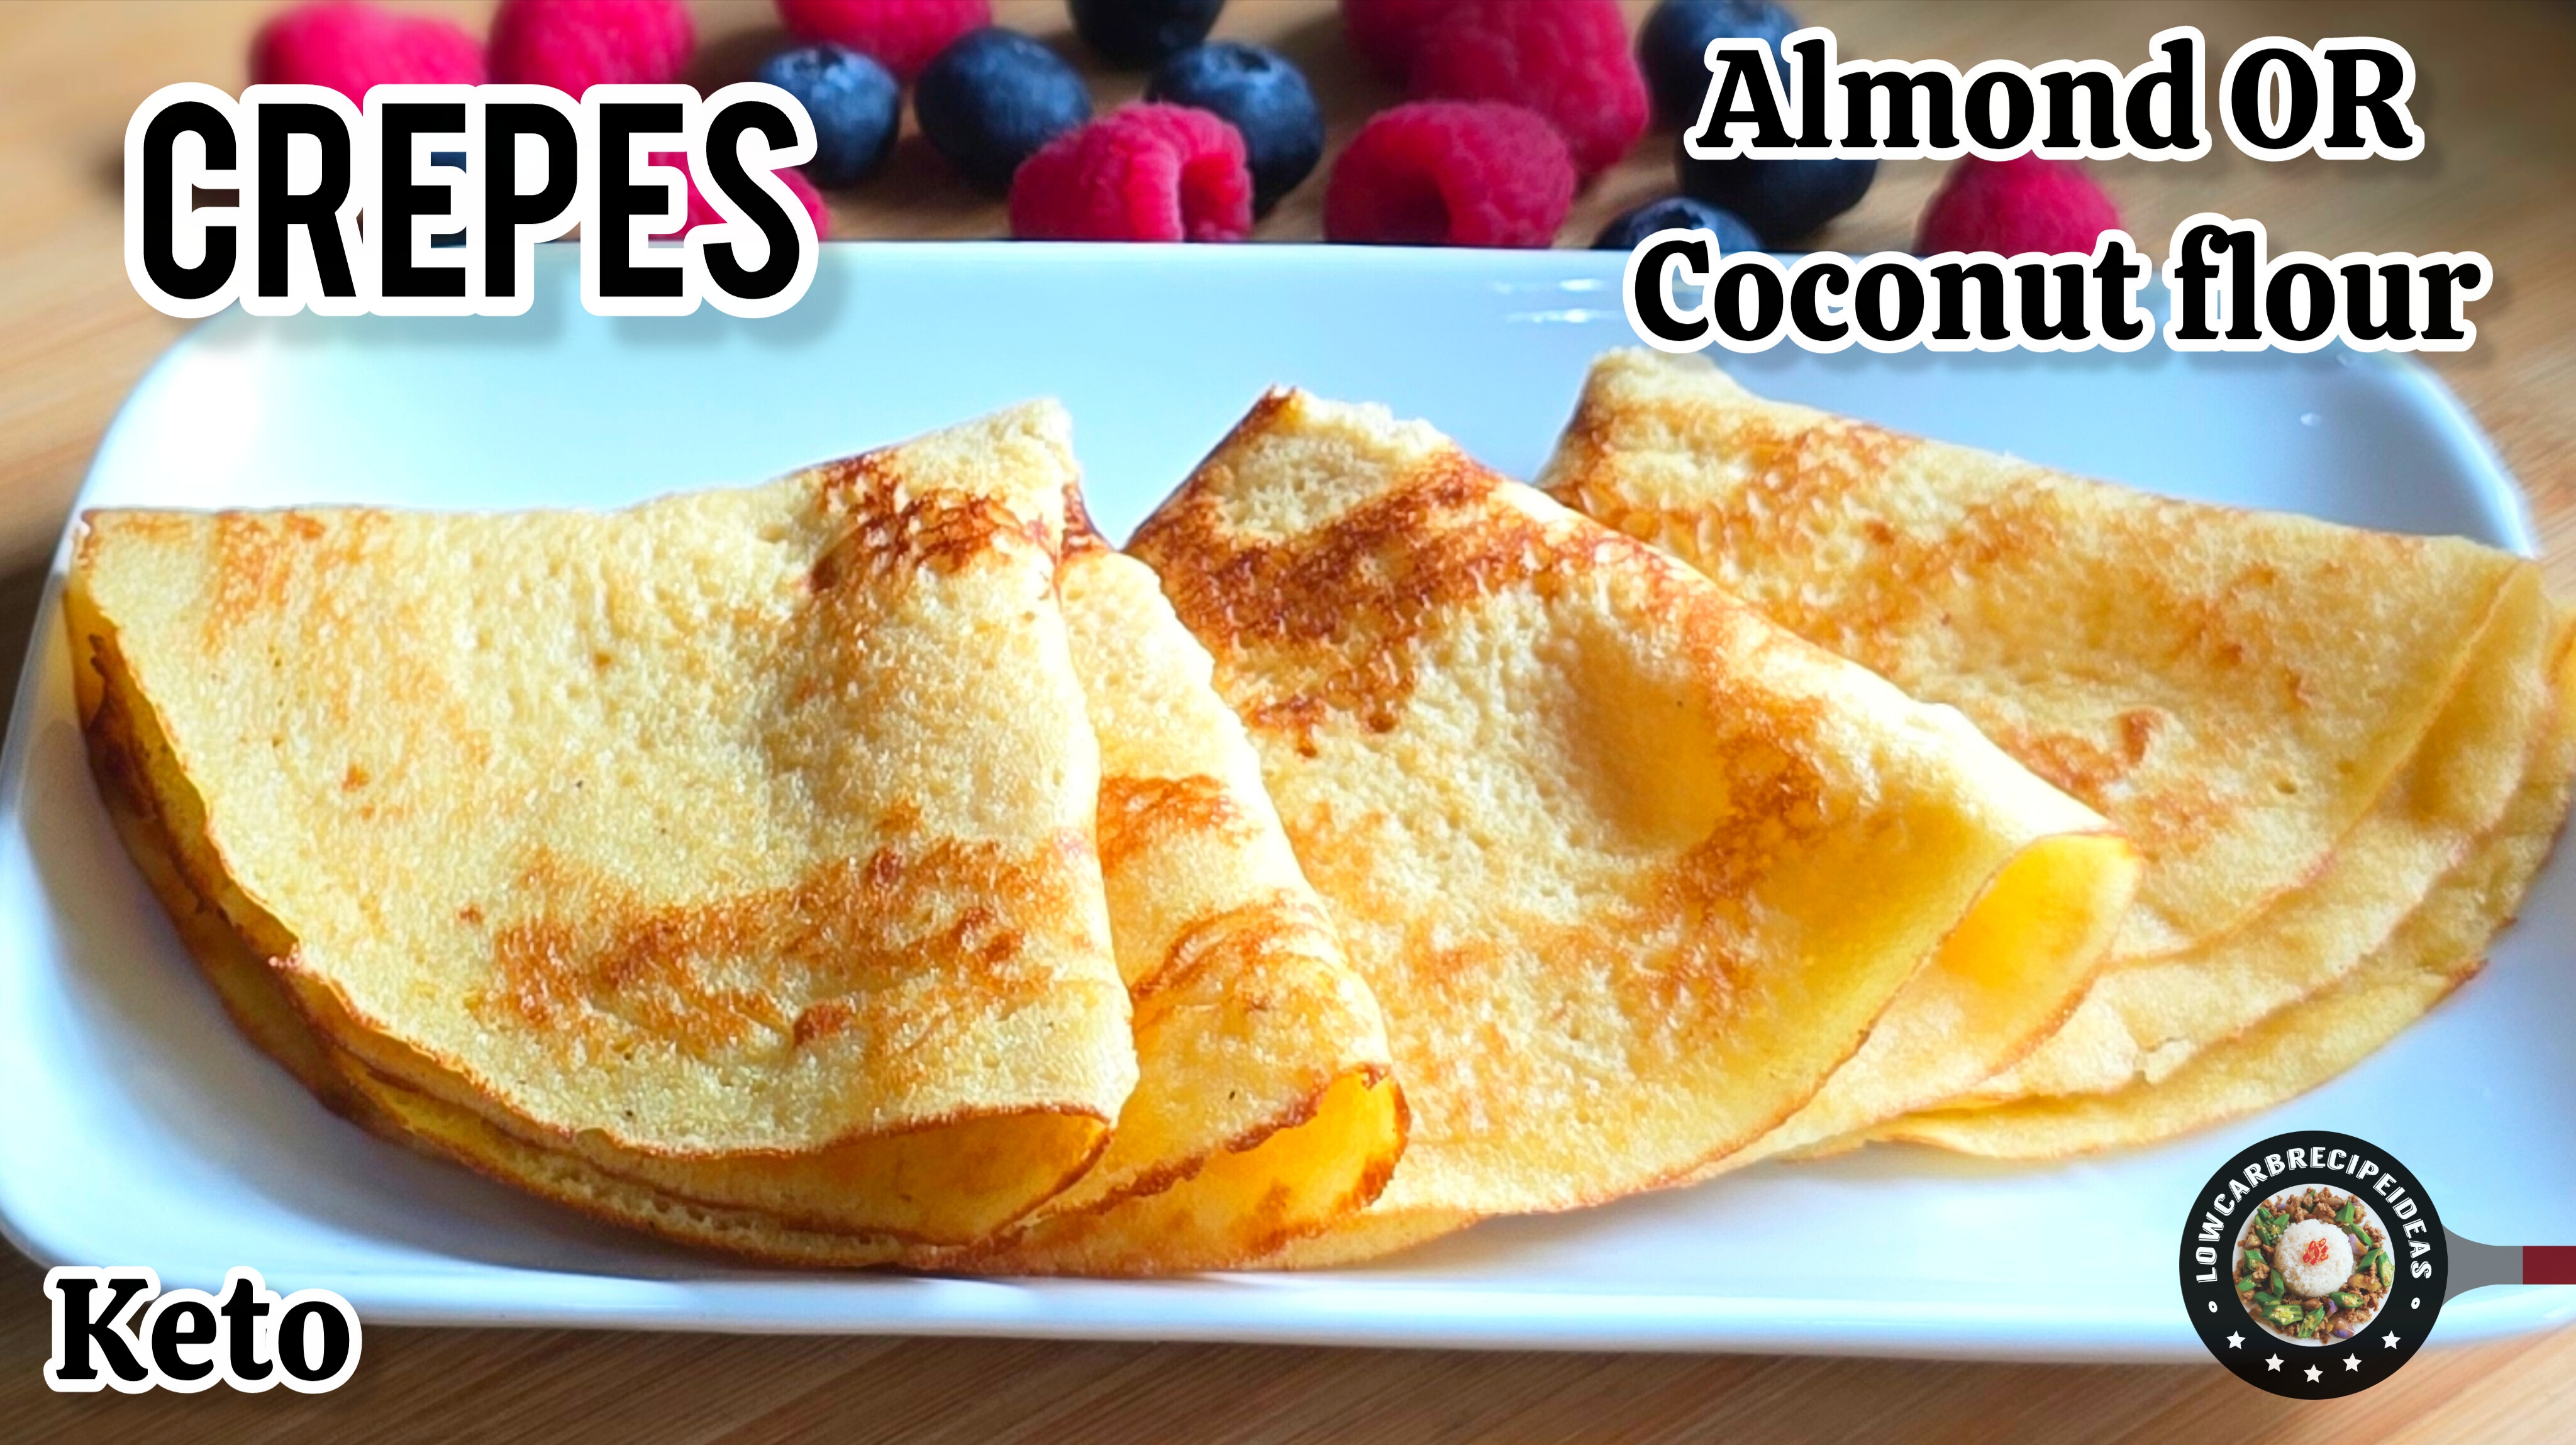
Japanese Cheesecake - Original
The difference between Japanese cheesecake and the standard cheesecake is that the Japanese version is crustless and uses less cream cheese but more whipped egg whites for the lightness which results in its super fluffy texture. It is best to chill the cake overnight but I made an extra batch just to show you that you could also savor them as warm soufflé. So I used small ramekins and garnish with sliced strawberries then dust with powdered wweetener. As an option, I added a bit of lemon juice and zest to the the cheesecake which I think makes it more refreshing. The sweetness level of this cake is just nice, about moderately sweet. I really hope you give this flourless, fluffy, jiggly and delicious cheesecake a try as you would not be disappointed.
DIRECTIONS (UPDATE ON 29 JULY 2020)
The original direction for baking this cake (as in video) was at 300F or 150C for 90 mins. Even though this is straight forward but it has a high chance of making the cake rise too rapidly up to quite high and then deflate or collapse eventually. The top will crack too. I have now learnt that it is better to start at a lower heat then increase heat subsequently. This way, the rise will be slow and steady, the cake will not deflate, or collapse and cracks are rare. Also, you do not need to rest the cake after baking. I have amended the baking process accordingly below so please use the video as a guide only.
1. For best results, weigh the ingredients with a digital scale
2. Preheat oven at 250F or 120C.
3. Prepare a pan. I used a 6" (15 cm) spring form pan in the video as I like the cake to be tall and I lined the sides of the parchment paper slightly higher than the pan. If you do not have a 6" pan, you can also use an 8- or 9-inch pan except that the cake will not be as tall, or you can increase the recipe accordingly. Grease the pan and parchment paper and wrap the pan with aluminum foil to prevent water from water bath to seep in.
4. Melt the cream cheese, butter, whipping cream and cheese in a bowl over a double boiler with low heat until smooth.
5. Remove from heat and mix in the egg yolks one at a time followed by the lemon juice and zest if using. Set aside.
6. In a bowl, add the 4 egg whites and whisk with handheld mixer at high speed until stiff peak (about 5 mins) and it should look shiny and moist. Gradually add the erythritol while beating the egg whites.
7. Fold in 1/2 the egg whites gently into the cream cheese mixture with a whisk then fold in the other half with a spatula until well combined. This meringue is very important so try not to break it by mixing or stirring as the air will be deflated resulting in the cake unable to rise. Instead fold gently as in scooping up so as to maintain its gentle shape.
8. Pour batter into the pan and tap it a few times to release visible bubbles.
9. I made another batch to savor as warm soufflé, so I used ramekins for these.
10. Place the cake pans on a big baking dish and fill with hot water about 1" to 2" height depending on the height of your baking dish.
11. Bake at lowest rack at 250F or 120C for 50 mins then switch to 300F or 150C for 30 mins then finally at 350F or 180C for 10 mins. The cake is done when it feels firm at the top. If the cake feels liquidly then bake it longer. Once done, remove pan from oven. Remove the water bath, foil and let the cake cool for 20 mins before removing from pan. Every oven is different so you may need to watch the heat and adjust accordingly.
[Total servings = 8]
NUTRITION INFO PER SERVING
Total carb = 1.2 g
Dietary fiber = 0 g
Net carb = 1.2 g
Calories = 183
Total Fat = 17.6 g
Protein = 5.7 g
This nutrition information is just a guide. Feel free to use your own macro calculation app for accuracy.
Recipe by lowcarbrecipeideas
Find more great recipes at lowcarbrecipeideasofficial.com


.jpg)